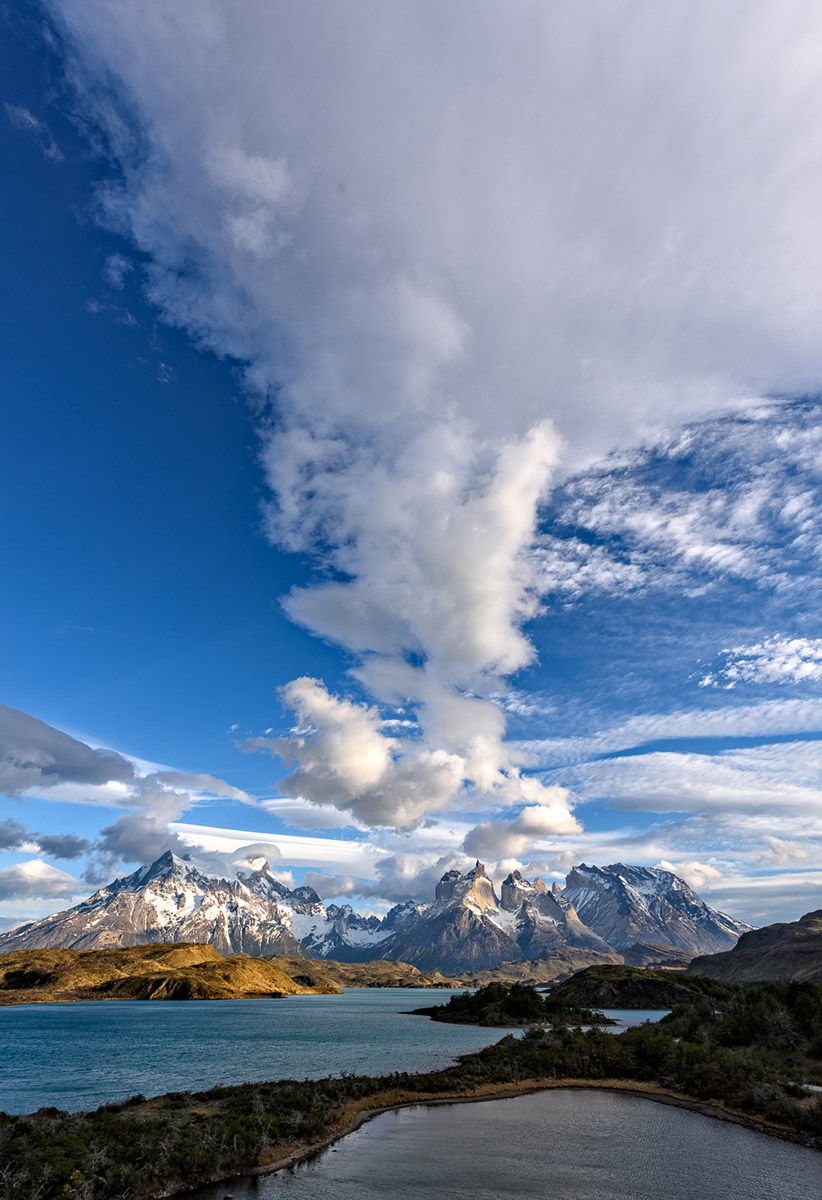
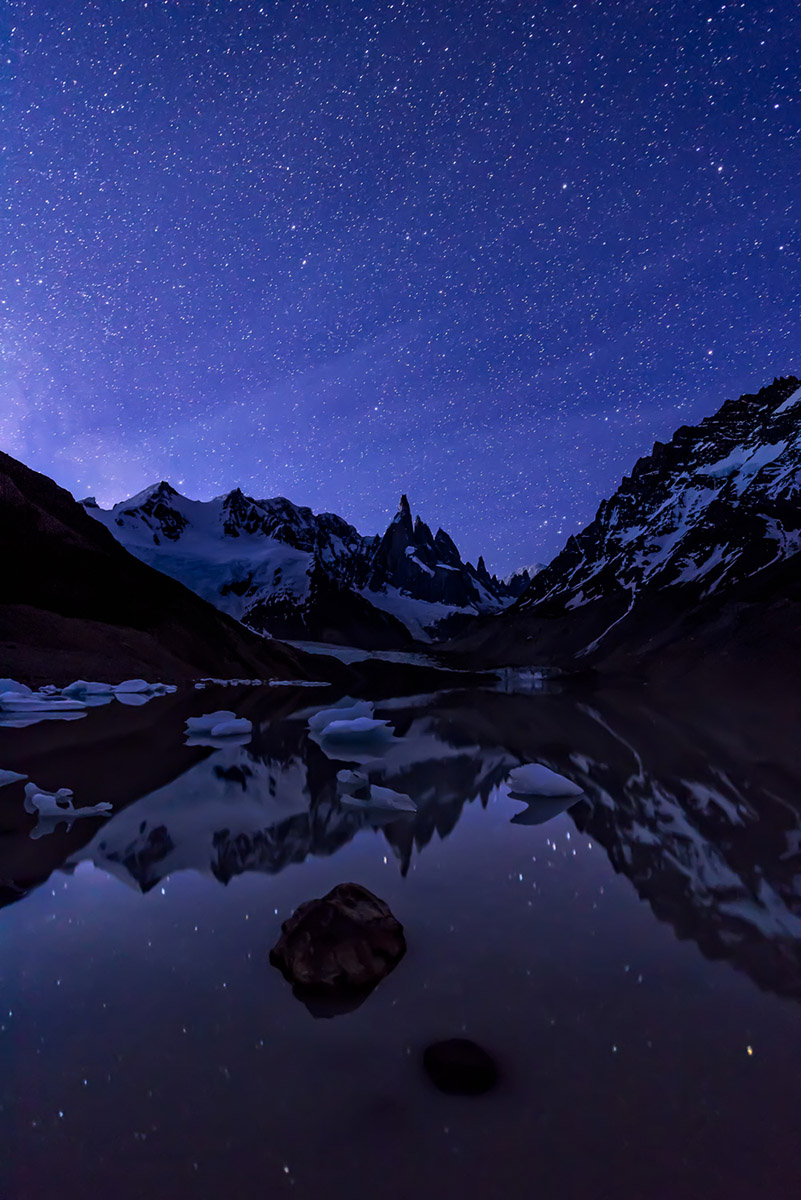
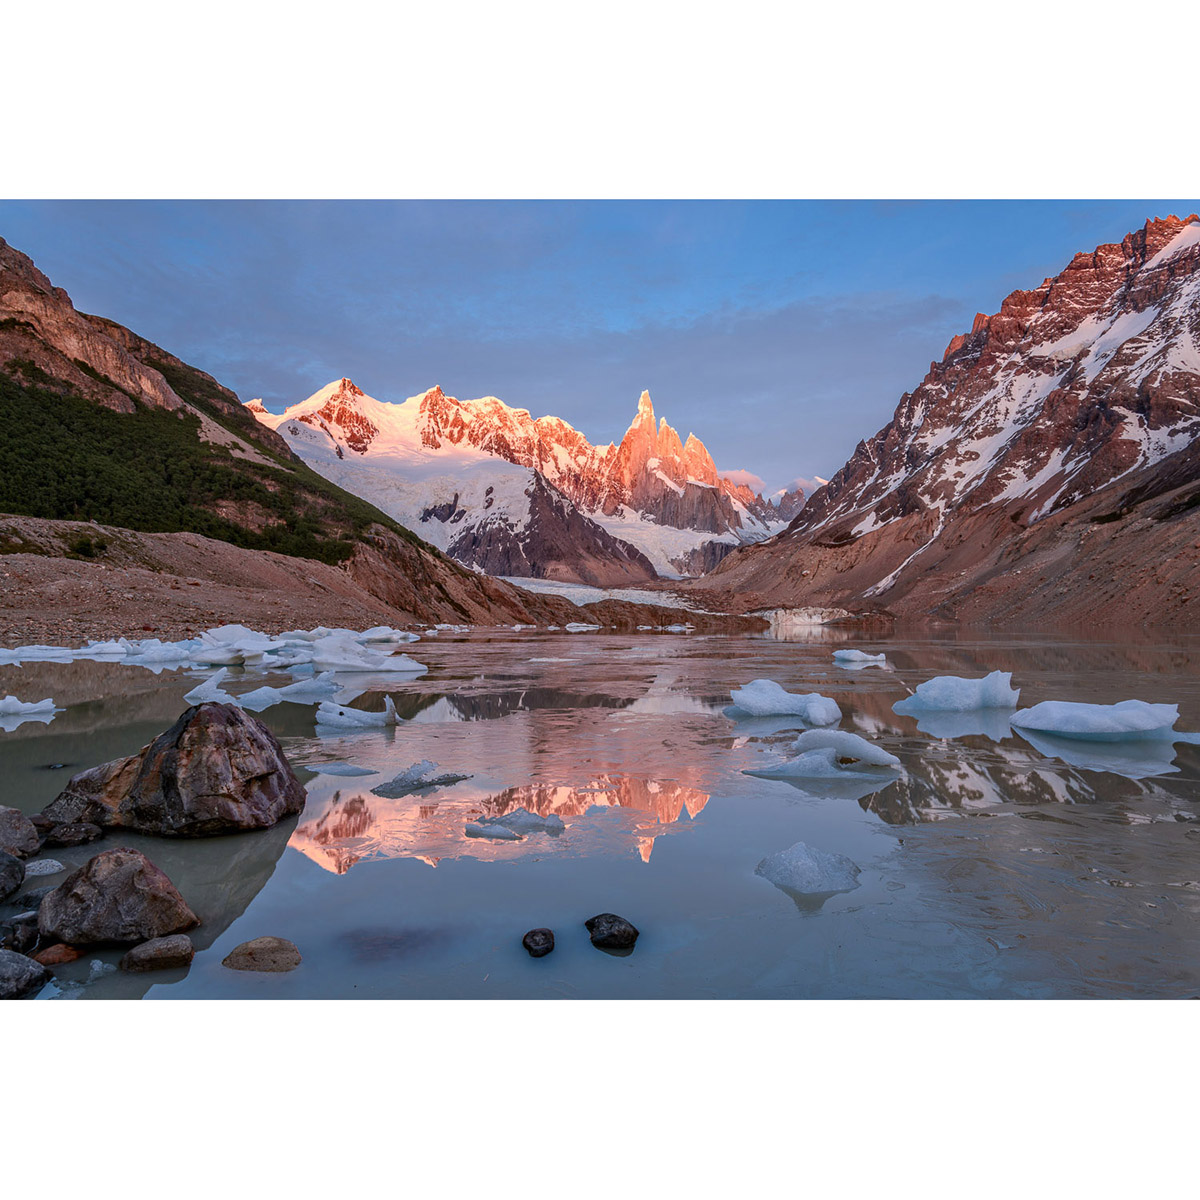
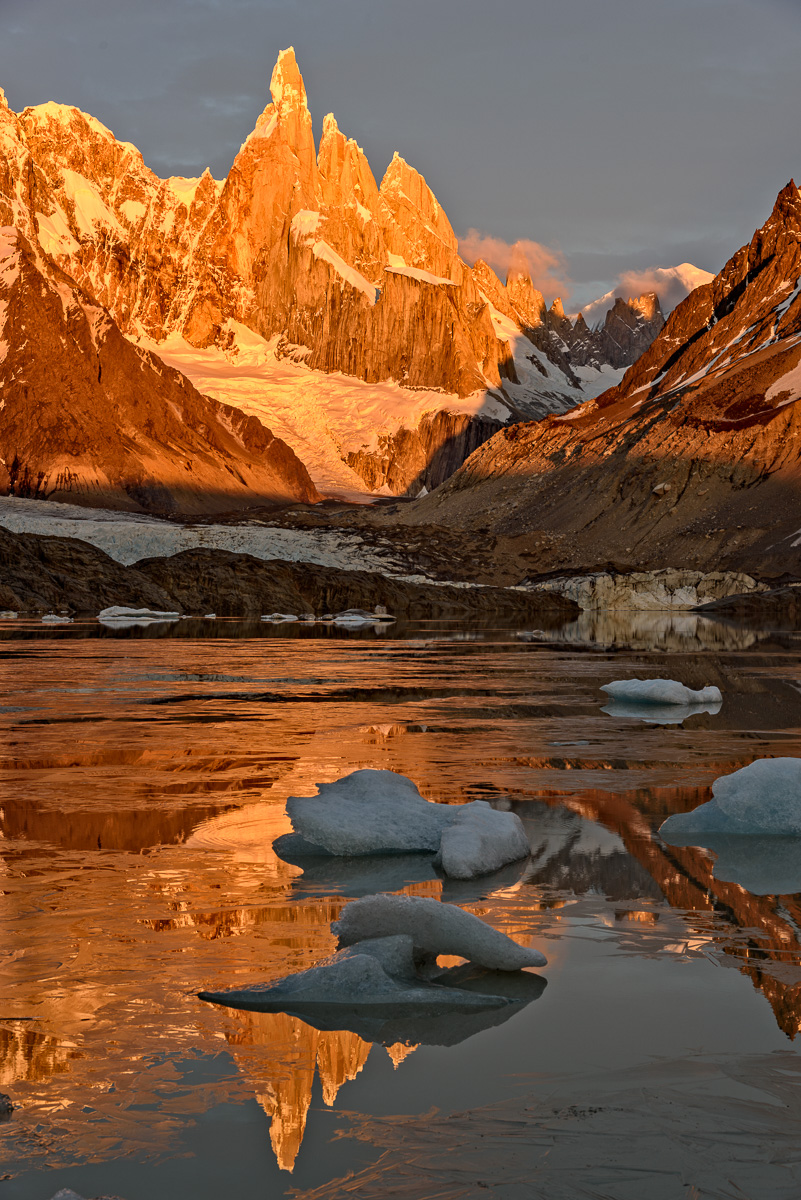
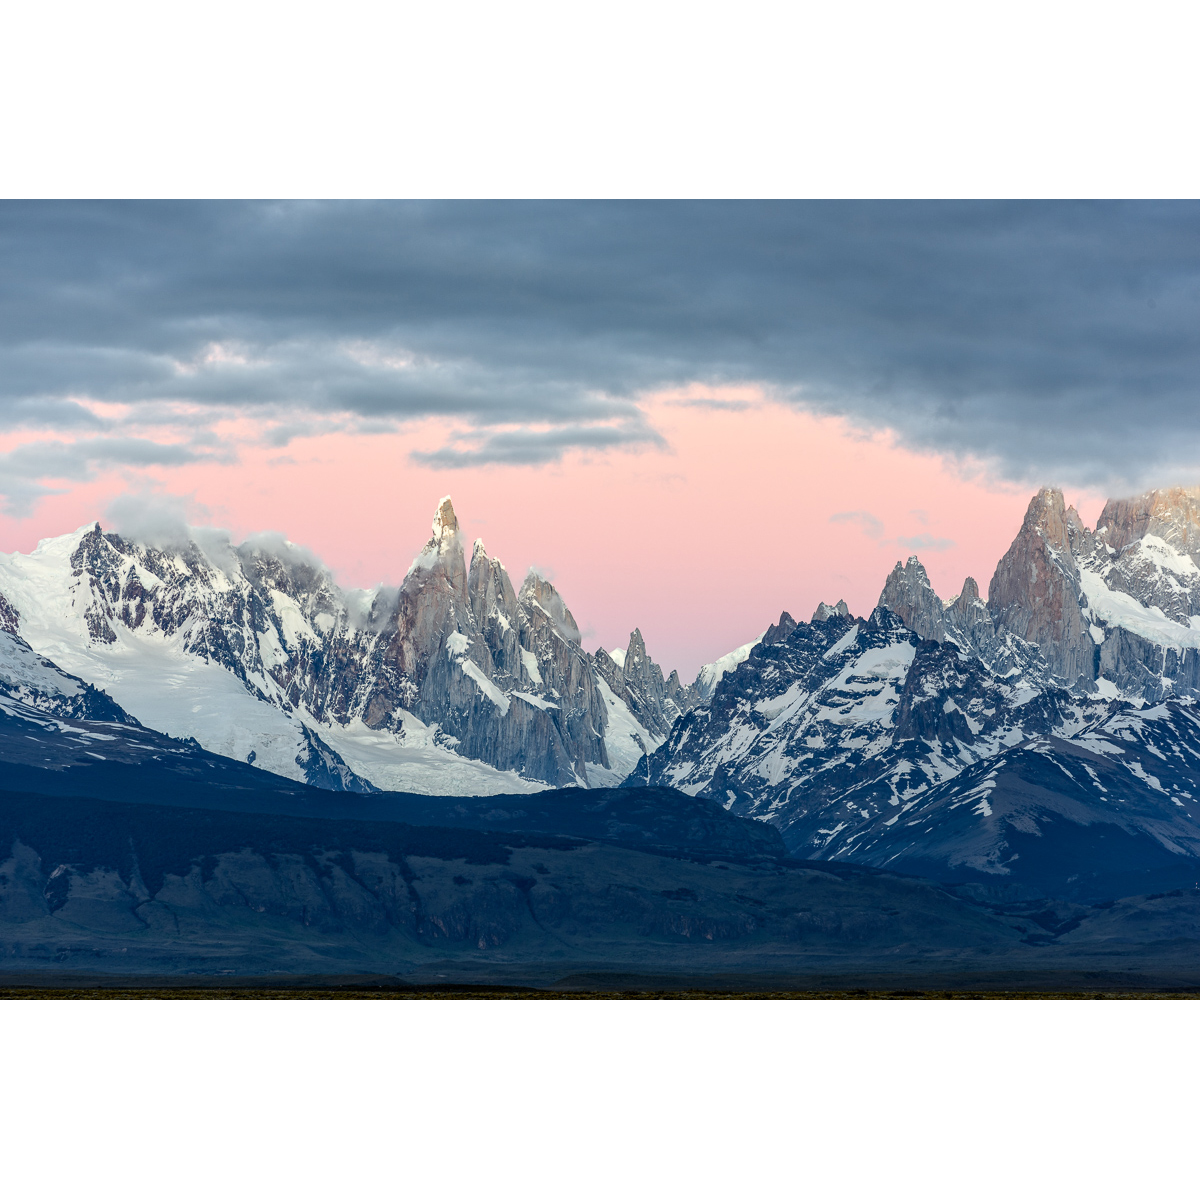
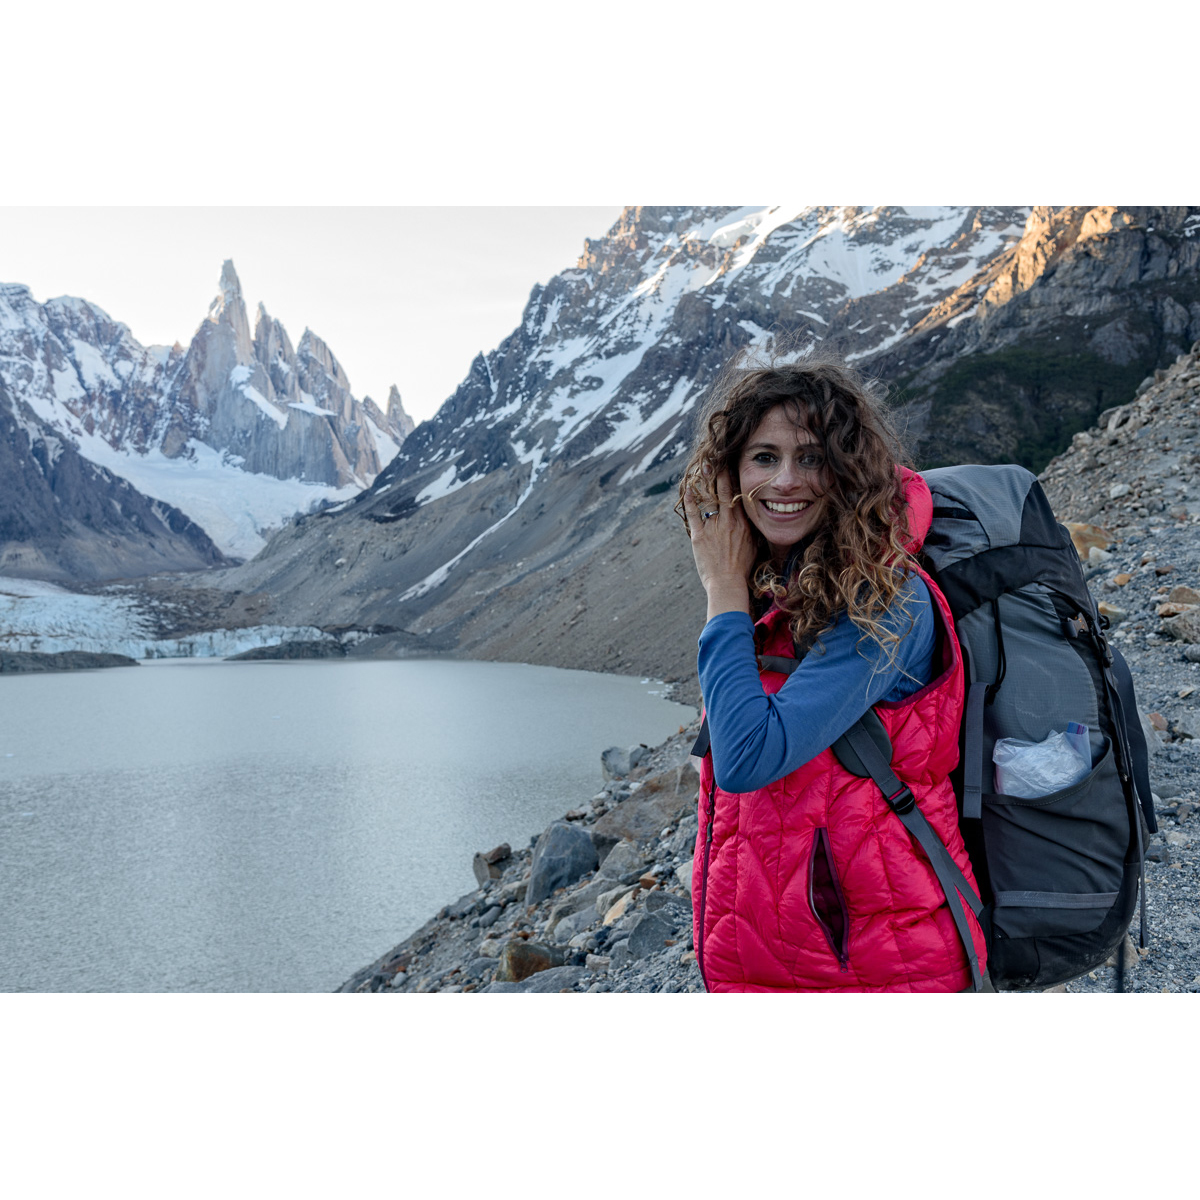
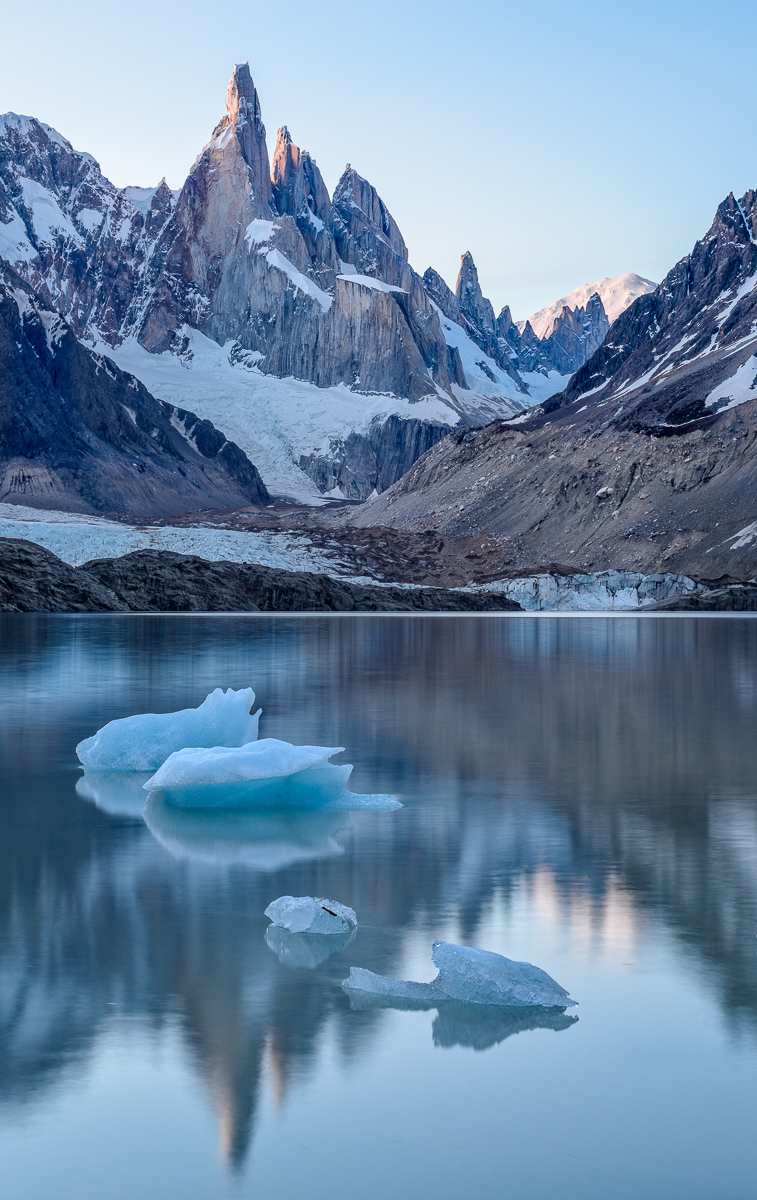
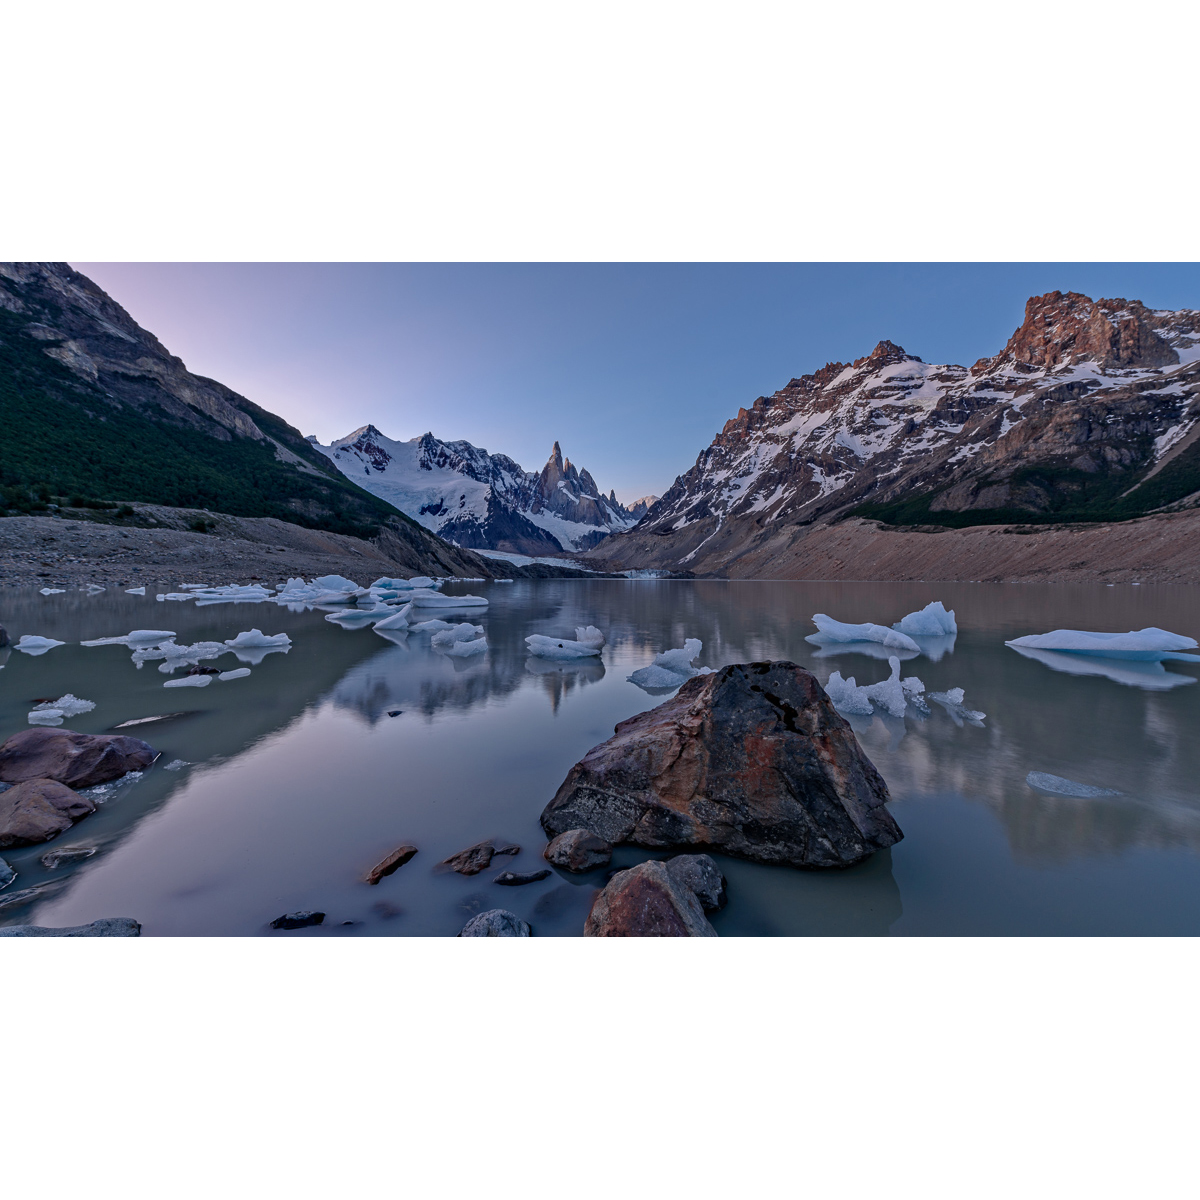
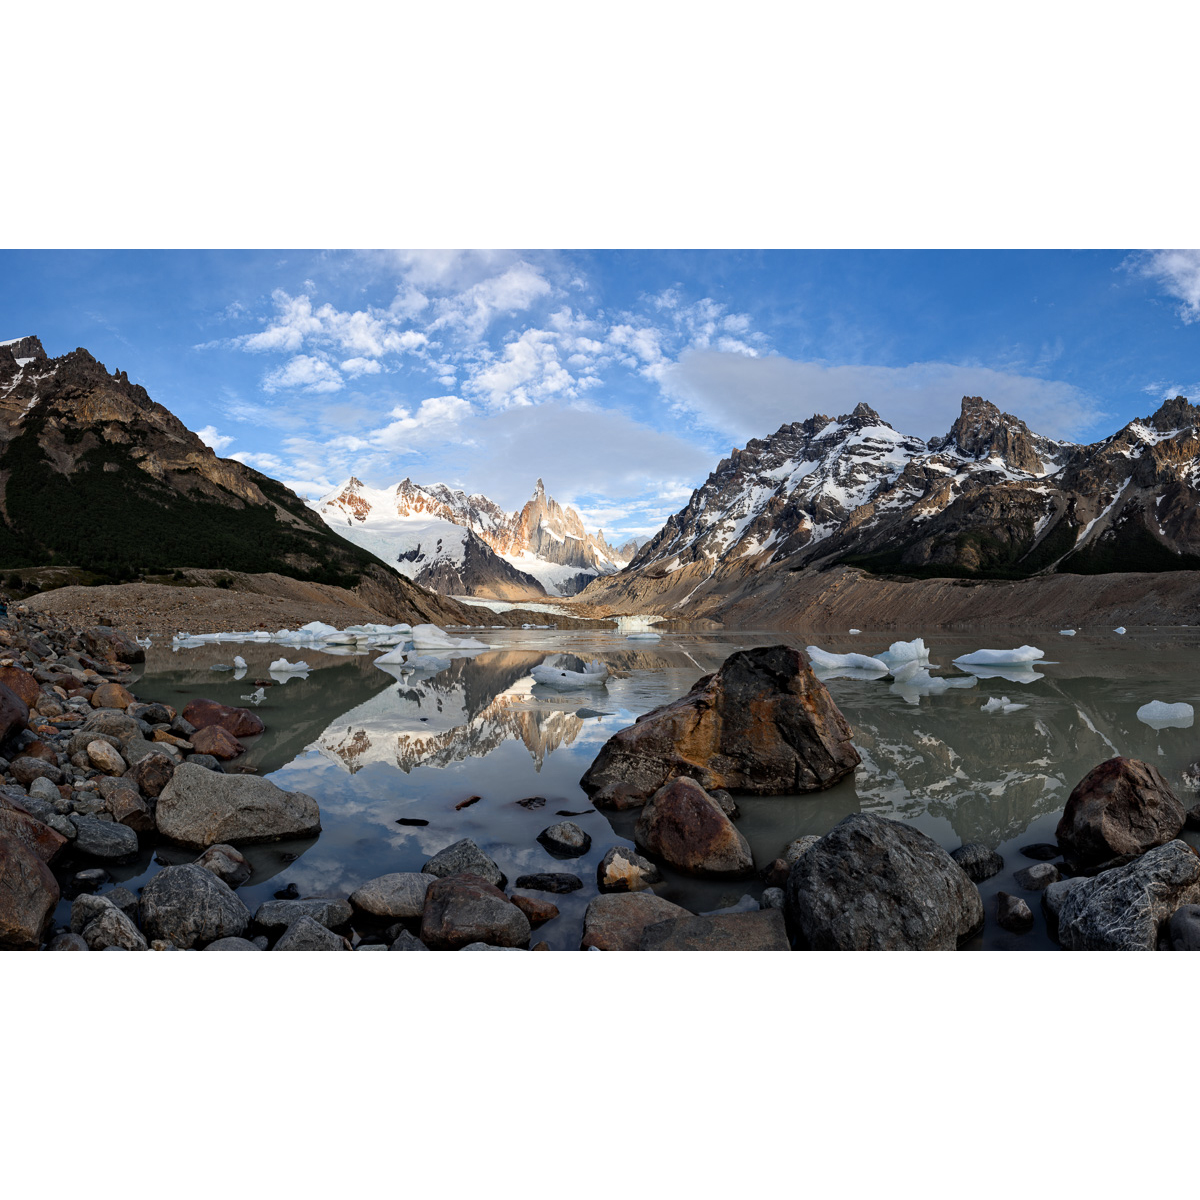
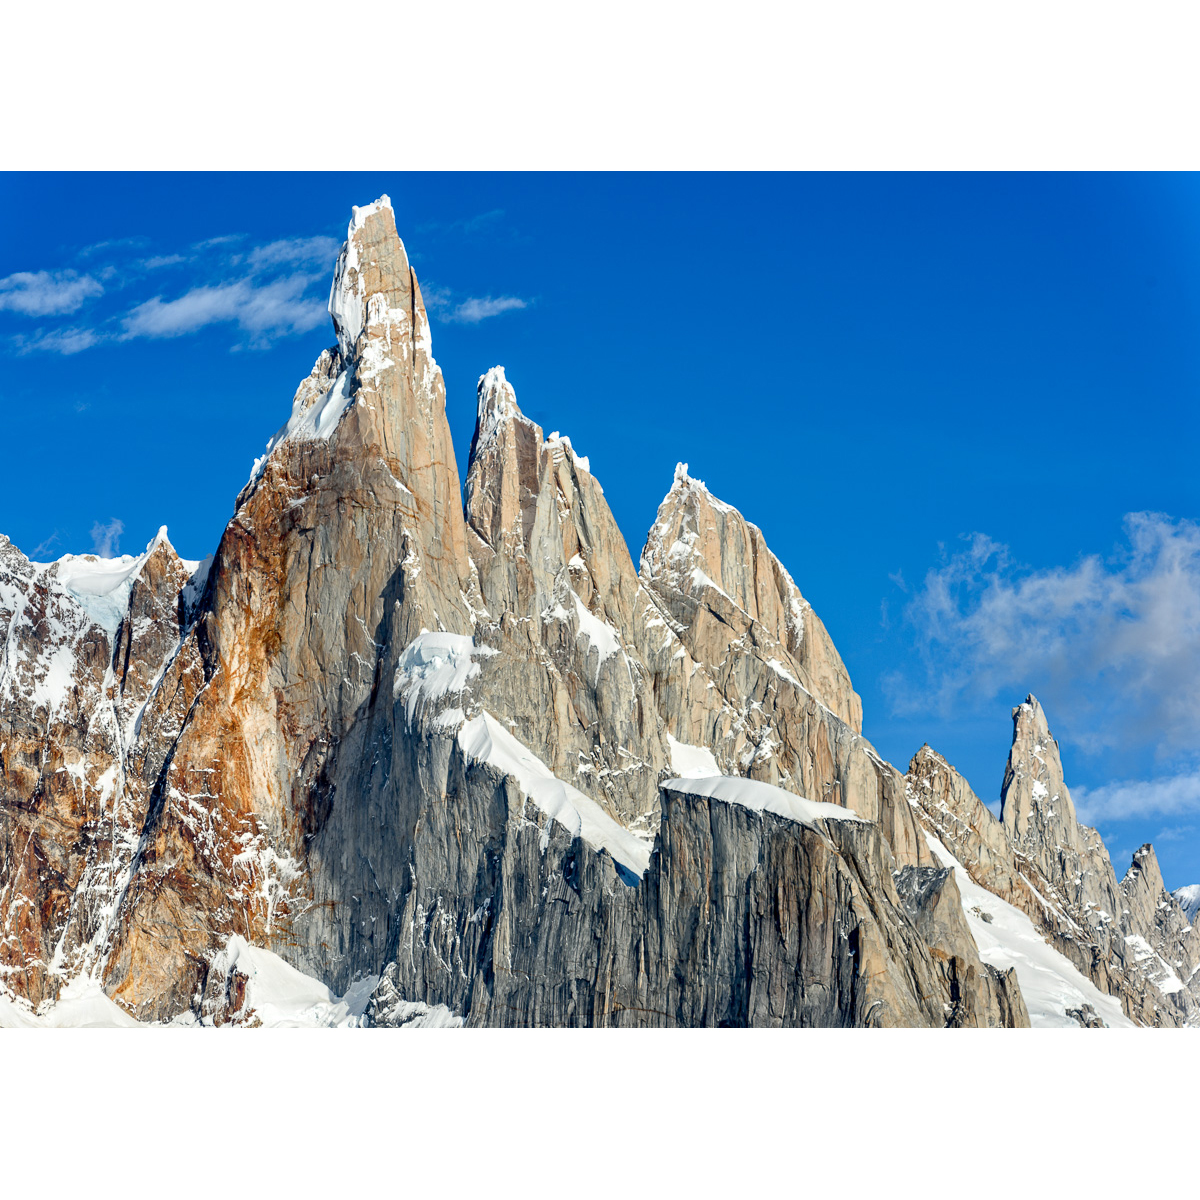
Keep your landscapes razor sharp in lower light with wider apertures. Watch this tutorial to see how I capture a low-light Patagonian landscape image in multiple frames at varying focus settings and then RAW process, composite blend, and finish edit the scene into a single, tack-sharp image. This video tutorial is aimed at the intermediate to advanced landscape photographer.
Pike Gilman Henry
I've been a bit quiet on the Blog and social media of late, but I've got a great excuse. On February 20th (Ansel Adams' Birthday) Stacey and I had our first child. A strong, healthy boy named Pike Gilman Henry. We have been spending countless hours since just marveling at his existence. We can't wait to show him how amazing the world is. For now here's a few photos...
2015: What Photo Gear Is In My Bag?
I am often asked what camera gear I carry on my adventures. The answer really depends on where I'm going and what I'm looking to accomplish. If I'm shooting candid travel scenes in a crowded urban area, I'm going to take a different setup than I'd pack for an expedition or a commercial location shoot. Here is a description of what I regularly carry for travel photography and why.
Read MoreLens Filters For Digital Photography
What filters should I be using? It's one of the most frequent questions I hear from new photographers and students. For today's modern digital photographer I've got great news. You don't need nearly as many as we did in the age of film.
When I shot film I carried an array of filters: polarizers, UV protective, neutral density, graduated neutral density, warming and cooling. Now with the amazing dynamic-range and color flexibility of RAW digital files I only carry the first three. Let's look at each type of filter I currently carry: polarizers, UV filters, and neutral density.
Circular Polarizer
The first filter I ever purchased was a circular polarizer and I haven't been without one since. They allow me to...
Read MoreCapturing and Editing Still Photos for Timelapse
WHY TIME-LAPSE?
As photographers we constantly make creative decisions involving time and movement. We use long exposures to accentuate motion over time. We freeze time with fast exposures to capture the power of athletes in motion. Creating time-lapse video is another really fun way to visually dramatize time. It allows us to dabble in a new realm and capture the world of movement that we see around us in new and exciting ways.
Frequently students ask me if their digital cameras are capable of producing high-definition time-lapse and the answer is an emphatic yes. Film and video are simply a series of still frames played at 24 or 30 frames per second. Each frame of high definition 1080p video is only seven megapixels in size. Not only that, to keep file sizes small, digital video recording is so highly compressed that the ability to post process it is highly compromised. That means that a time-lapse created from a 14-megapixel still camera’s RAW images will be many times more editable than, as well as twice the resolution of, traditional video filmed in high definition.
FRAMES PER SECOND (FPS):
Before we delve any deeper I want to demystify the term frames-per-second (“FPS”) as it applies to video playback...
Read MoreFAVORITE MOMENTS OF 2015
I've had the good fortune to participate in some epic photographic adventures in 2015. Here's a quick slideshow of some of my favorite moments of the past year.
Happy New Year everyone!
PANORAMIC MERGER IN DEPTH: TORRES DEL PAINE, CHILE
Panoramic Mergers. I stumbled across the technique a decade ago when I was wishing for a wider angle lens for my medium format film camera.
On an amazingly calm Patagonian morning last month this scene could have been easily captured with a single frame with my Nikon D810, but by instead making a panoramic-merger from 8 images I created this highly-enlargeable, 80-megapixel image. Have I mentioned that I love this stuff?
Check out this gallery of select panoramic mergers. You can view this image full screen there.
NEW PRINTS AVAILABLE
Patagonia Time-lapse: Cerro Torre While We Slept...
We had an amazing star show as we slept at Lago Torre in Argentina. Even more rare -- calm water in these wind ravaged mountains. It was a rare opportunity and I left both my Nikons (D810 and D750) running as we tucked into our tent that night. Watching this video makes me long to get back there.
Patagonia Slideshow: Cerro Torre
El Chalten, Argentina is the jumping off point for two of Patagonia's biggest and most famous mountains: Fitz Roy and Cerro Torre. A quaint little adventure town, El Chalten has more backpacker hostels than houses, only a few paved streets and no less than 4 outdoor gear shops and 2 microbreweries. Think Mos Eisley from Star Wars; this is a jumping off point for adventurers and climbers from all over the world. It's my kind of place.
As Stacey and I arrived, our rented VW van (a.k.a. Home) conveniently broke down. There's really no place I'd rather be stuck for a few days. The weather forecast was for a night of calm before the next storm rolled in, so we packed up the tent and stove and headed up the nine kilometer trail to Lago Torre at the base of Cerro Torre.
Any concern about Stacey being six months pregnant dissolved as we started the trek. What a trooper! It was a blast climbing alongside waterfalls, under high alpine forest with fresh spring leaves, through a burned section of woods and finally into the high alpine ice and snow below Cerro Torre.
If the surrounding peaks look like Patagonia's teeth, Cerro Torre is the fang. Standing at it's base you have no doubt why mountaineers believed it unclimbable for so long. The sheer granite walls rise thousands of feet only to be capped by a crazy ice mushroom formed from the relentless southern winds. One thing is for sure: it is spectacularly beautiful.
We had an incredible time. The mountain gave us a rare calm night up there. The lake reflected, the stars put on a show, clouds came in the morning, we met a Magelanic Woodpecker in the woods and got out right before the next storm rolled in. Perfect.